The era is the part you keep
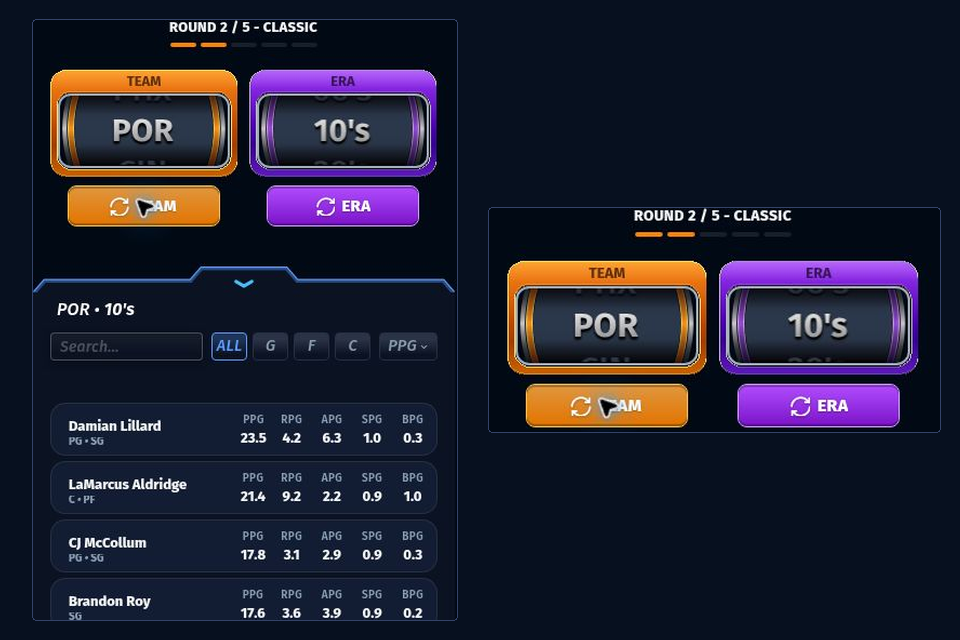
A team respin in the 82-0 game replaces the drawn franchise and leaves the era in place. Use that distinction to state your reason clearly: “I want another team's pool from this period.” If your real concern is the period itself, TEAM is changing the wrong part of the draw.
The roster already placed remains the context for the decision. Count its open positions before evaluating the new pool you hope to see. A different franchise's great scorer may still fail to fill the jersey you need.
No named replacement is reserved.
Establish the best offer before exchanging it
Inspect the full current pool before judging the franchise. Clear any name search you have applied and choose ALL. Next check legal destinations for the best cards, including a permitted move of a placed player. Your fallback is the strongest candidate you can make room for, not simply the largest number in the list.
In Classic, describe the contribution you find insufficient. In HoopIQ, say whether your difficulty is the franchise's actual options or your own recall. Those are different levels of evidence, even if both make the roll uncomfortable.
Read the TEAM allowance and any cost on the control. Then decide whether replacing this known offer is worth using that action now. The button does not become more valuable just because a familiar team logo might appear next.
Three situations worth separating
These are decision scenarios, not reported attempts or claims about a particular franchise's database. Their purpose is to make the exchange visible.
Only C remains open
Four jerseys are occupied and C is open. Start with cards that fit C. If another candidate looks promising, inspect whether a placed multi-position card can legally move into C and free the candidate’s position. That rearrangement has to satisfy every affected card.
If a direct placement or legal move gives you a usable option, compare that card before spending TEAM. If the full pool and board still offer no route to a placement, another franchise in the same period is a reasonable possibility to explore. Read the control’s availability before acting.
Decision evidence: the open C jersey, the inspected pool, and the displayed availability of TEAM. The top scorer's reputation is not the issue here.
A legal card already has a strong case
The franchise is not one you were hoping for, but you have found a candidate with useful output and an open compatible position. You can explain what it adds and how it compares with the alternatives offered.
Keeping the card is a reasonable answer. Skipping to chase a famous franchise exchanges evidence for preference. That may be a choice you enjoy, but do not call it a demonstrated statistical upgrade.
Decision evidence: a usable card you would be comfortable defending without its team logo.
Several choices fit, but each feels limited
Two roster spaces remain. The available cards can fit them, yet the contributions you can assess are unconvincing for your intended build. Unlike Case 1, you are not blocked by placement; you are considering the quality of the exchange.
Name the strongest usable card and the specific shortcoming before pressing TEAM. You are spending the action to replace that option with an unknown franchise's pool. A bigger team name would not, by itself, resolve the shortcoming.
Decision evidence: the current fallback, the remaining board and the resource you will give up.
Read the trade as three separate costs
| Cost | What to record | Why it is separate |
|---|---|---|
| Discarded candidate | The usable card you would take if you kept the roll. | You lose a known selection opportunity. |
| Action allowance | The remaining-use count or condition shown for TEAM. | You change what the session offers for another TEAM action. |
| Uncertainty | The role and output you need from an unchosen franchise. | You cannot inspect the replacement pool in advance. |
The table gives you a concrete trade: the card you pass up, the TEAM resource you use and the replacement you cannot inspect yet. A weak-looking banner alone says little about that trade. Assess the offered cards and open spaces before deciding that another franchise is worth it.
After the franchise changes
After TEAM finishes, read the new franchise beside the retained era and inspect its candidates. The new draw resets the viewing controls; apply search or a role filter only when it helps with this replacement. If the list is still confusing, the Classic guide explains what each control changes.
Compare the replacement's best usable card with the one you discarded if you recorded it. A better or worse replacement is the outcome of this exchange; it does not establish that the decision was justified only by hindsight. Your reason should still make sense with the information you had before the press.
If you actually wanted another part of the same franchise's history, use the ERA framework next time. If you are still on the opening board, the first-pick fork puts the exchange beside the option of simply taking a defensible start.