The ordinary draft, in six checks
The roll sets the pool
A franchise and an era determine which versions are offered. Searching a name does not substitute a different draw.
Five rounds fill the roster
Each completed placement supplies one player. The returned season record follows the finished five-player board.
A position must be available
The selected card needs a compatible open slot. A filled jersey cannot accept an ordinary second placement.
TEAM is its own action
A team respin changes the franchise while retaining the era. Its availability is shown on its own control.
ERA is a different action
An era respin changes the time window while retaining the franchise. An unused ERA allowance is not permission to press TEAM.
The result uses player output
Points, rebounds, assists, steals and blocks contribute to the projection. Familiarity or fame is not an extra visible stat column.
What makes a candidate usable?
In the NBA 82-0 game, appearing in the pool and fitting the board are separate requirements. A candidate can match the roll but have no available position left. That is a roster constraint, not evidence that the player belongs to another franchise.
Check the positions on the selected card, then the free places on the board. G and F are broad list filters: a visible guard does not necessarily fit both PG and SG. The individual jersey highlights settle where that card can go.
Roster labels and placement
PG, SG, SF, PF and C are the five roster positions. Each holds one player. Cards with several compatible positions give you a choice of placement; the board also permits a move or swap when every affected player fits the destination. A selected candidate must be cleared before rearranging placed jerseys.
| Board label | Position | Placement check |
|---|---|---|
| PG | Point guard | Is PG offered for this card and still open? |
| SG | Shooting guard | Is SG an available choice after the previous pick? |
| SF | Small forward | Does the selected version fit the open SF jersey? |
| PF | Power forward | Are you committing the PF space or using another legal option? |
| C | Center | Can this candidate fill C before you leave it as the final gap? |
For the sequence of taps, use the first-run walkthrough. For the consequences of an early placement, use the opening-pick guide. This ledger describes validity; those guides explain how to act on it.
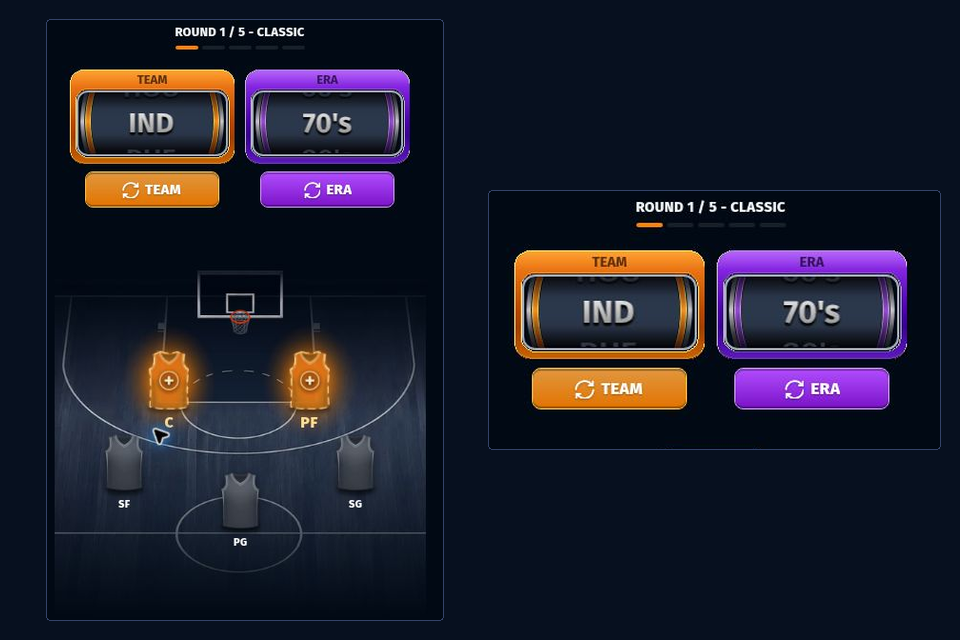
Read the allowance on this run
Read TEAM and ERA separately. Each control shows its own remaining availability and any condition attached to it. Using one does not transfer an allowance from the other. Once an action completes, use the updated display for the next decision.
The new draw replaces the candidate opportunity you were inspecting. You keep the already placed roster, but you do not reserve a player from the discarded pool. Before pressing a control, identify which usable card you would otherwise select.
Card data and the 82-game result
Classic displays PPG, RPG, APG, SPG and BPG. HoopIQ withholds those numbers during selection. The modes change the information you can use, so keep the mode attached to any record you compare.
A card describes production for the offered franchise-and-era entry. It is not automatically the player’s career average or best individual season. Older defensive columns may include estimates where historical records are incomplete; the displayed card remains the input used by the game.
The season projection is nonlinear. Five column totals can help explain your roster, but a sum of raw points, rebounds and assists is not a published formula for its wins. Neither an individual card nor a conventional lineup arrangement proves an 82-0 finish before the game returns it.
Rules, controls, or judgment?
- Rule
- A selected card must fit a remaining compatible position.
- Control
- Search and sorting help you inspect candidates in the offered list.
- Judgment
- You decide whether the best usable card is worth taking or exchanging the draw.
Use How to Play for the actual taps and First Pick for the placement decision. When considering a redraw, compare TEAM situations with ERA situations: the two controls preserve different halves of the roll.